860-829-2244
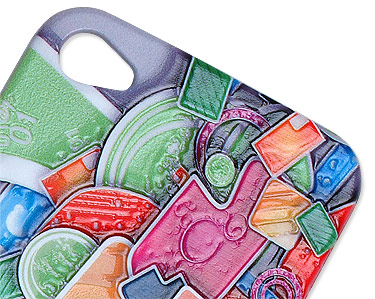
It's easy to create textured, 3-dimensional prints that make your projects stand out with a DCS Direct Jet UV printer and our powerful RIP 9 software. Follow these step-by-step directions to import your image, control the amount of texture in your output and create stunning TEXTUR3D™ prints inline, in a single pass!
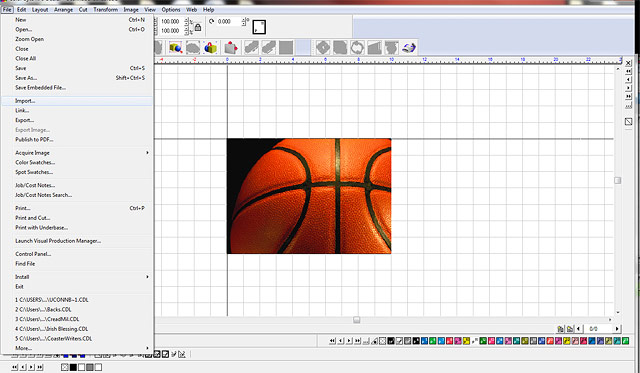
Import an image by going to File > Import.
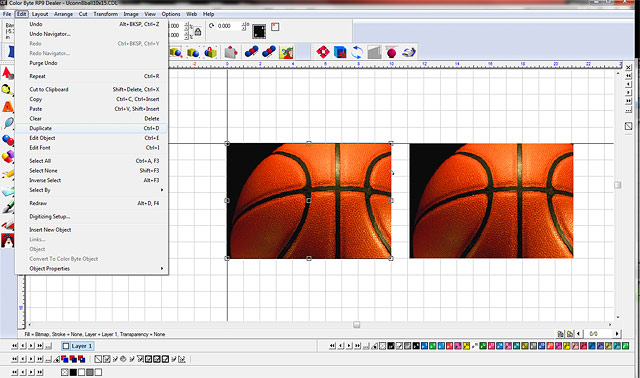
Make a duplicate of the image by selecting the image and going to Edit > Duplicate, or press Ctrl D on the keyboard.
Convert the duplicate image to Grayscale by going to Image > Mode > Grayscale.

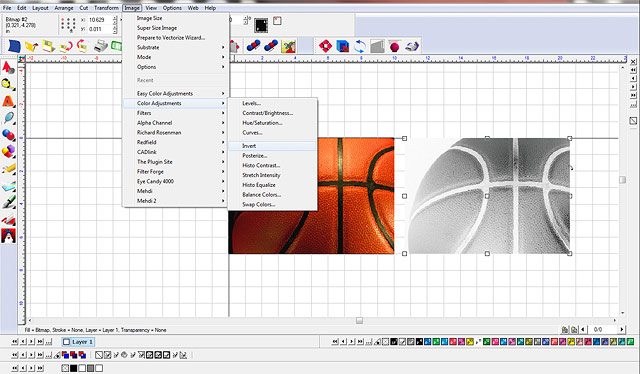
Depending on whether the image has a black background or not, the grayscaled image may need to be inverted. To invert, go to Image > Color Adjustments > Invert.
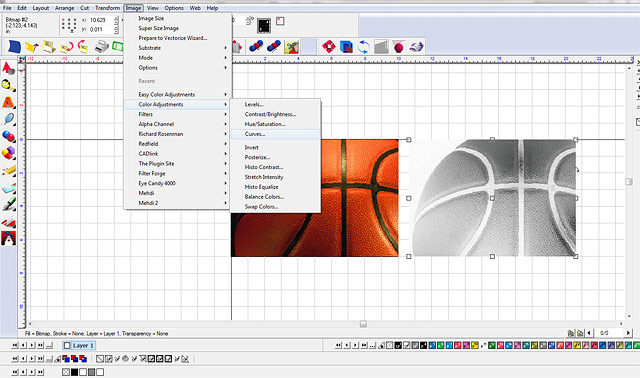
The greater the contrast between the black and white areas, the more texture the ouput will have. To adjust the contrast of the grayscaled image, go to Image > Color Adjustments > Curves.
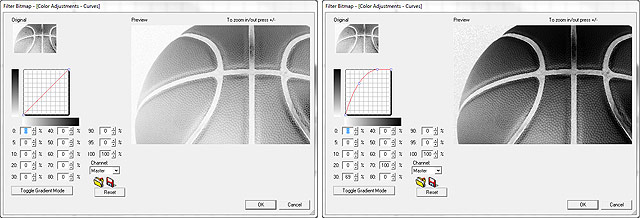
Adjust the curve to build greater contrast. The darker the color the more ink ouput. In this case, the curve has been raised at 30% and 70%. Select Reset to start over if the adjustments aren't to your liking, then click OK.
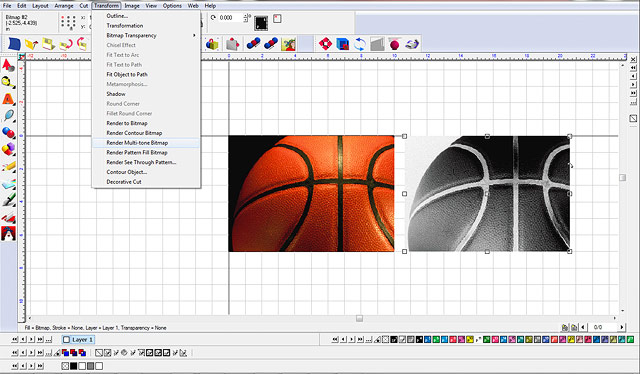
Render the adjusted grayscale image to a Multi-tone Bitmap by selecting the image and going toTransform > Render Multi-tone Bitmap.
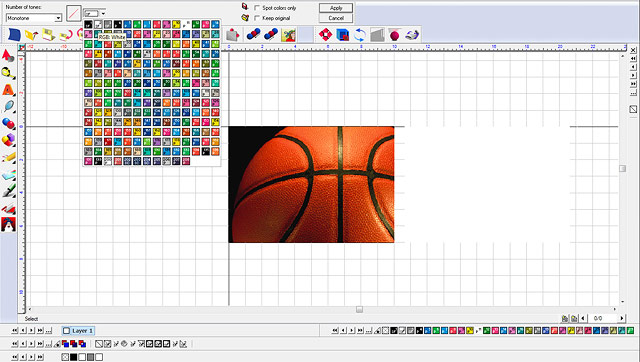
Select SF2 and click Apply. This will convert the image to a Spot white bitmap, which appears as a solid white rectangle.
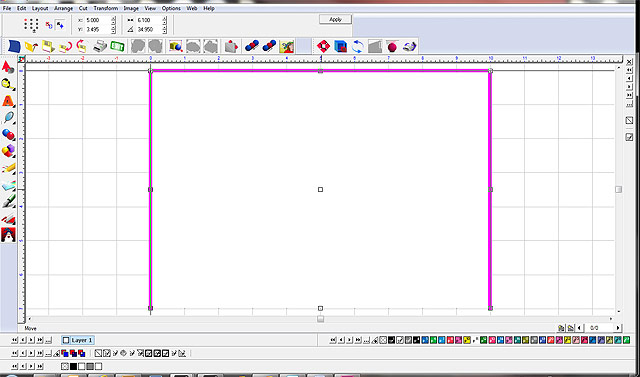
Place the Spot White Muli-tone bitmap directly over the original image by snapping them both to the top left side of the sign blank area.
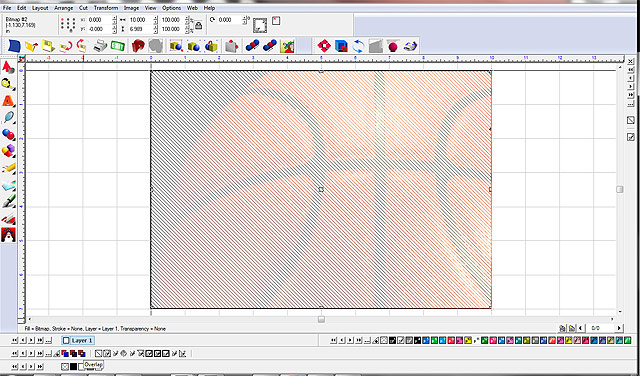
Select the Spot white Mutli-tone bitmap and click Overlap. The Spot white bitmap will appear somewhat transparent as seen below.
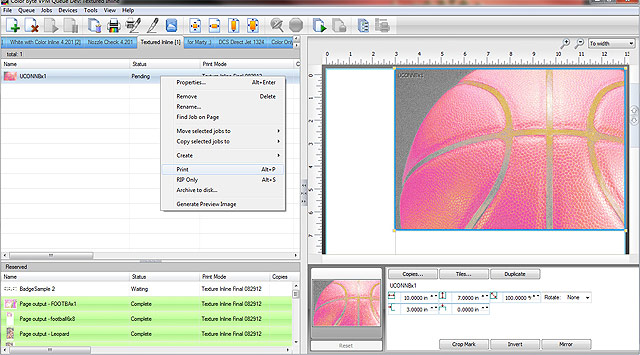
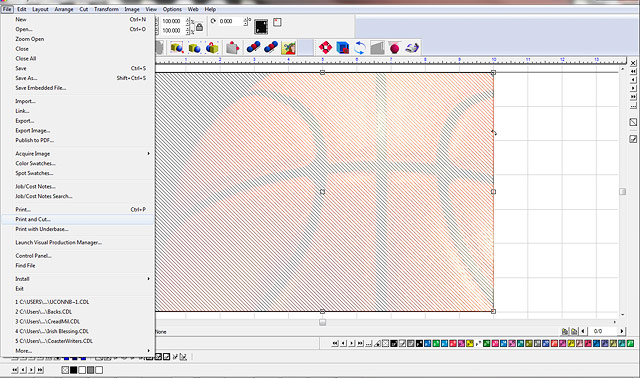
To print go to File > Print and Cut
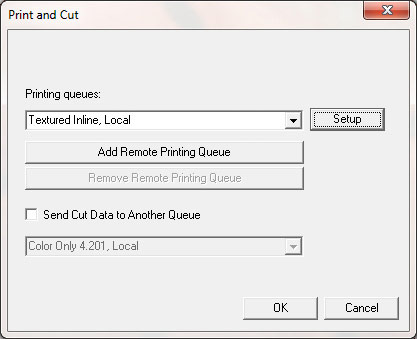
Select the Textured Inline queue under Printing queues, then click OK.
Select the Textured Inline Queue in the RIP and Print.